THE STEPS TO ASSEMBLE AN ECONODOME FRAME KIT
Step # 1
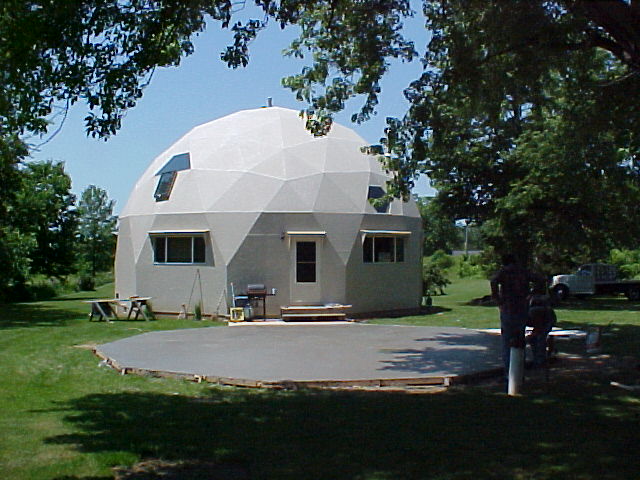
Your Choice of Foundations
Full Basement, Crawl Space, Concrete Slab....
With the following example, the dome is put on a concrete slab
Step #2
Putting Up the Riser Wall
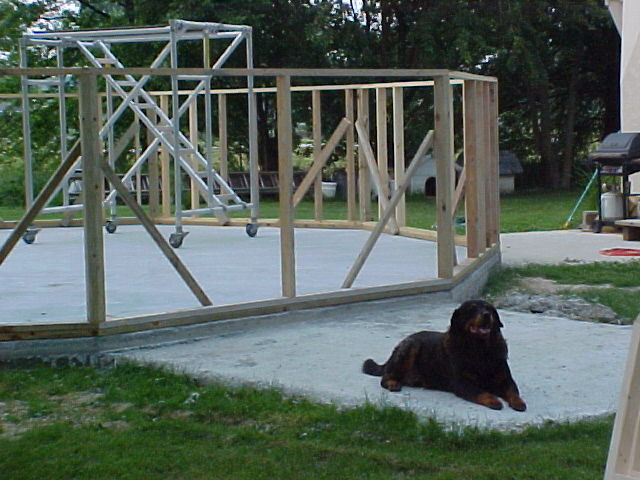
This 2x4 riser wall is 59 inches high
and supports and lifts the 30 foot diameter EconOdome frame kit.
A 2x4 Basic EconOdome frame kit costs 25% less
than our standard Basic 2x6 EconOdome frame kit for each particular size.
In this case we are building an economical garage next to a dome home.
There are 4x4 posts at each corner, trimmed to be flush at the outside corners.
The ten top and ten treated bottom plates are all 111 1/4 inches long
with the ends cut at 18 degrees away from 90 degrees.
Studs cut 56 inchs long are placed vertically at 16 inch o.c.
spacing between the plates.
This 5 foot high riser wall may be purchased pre-cut as an option.
Step # 3
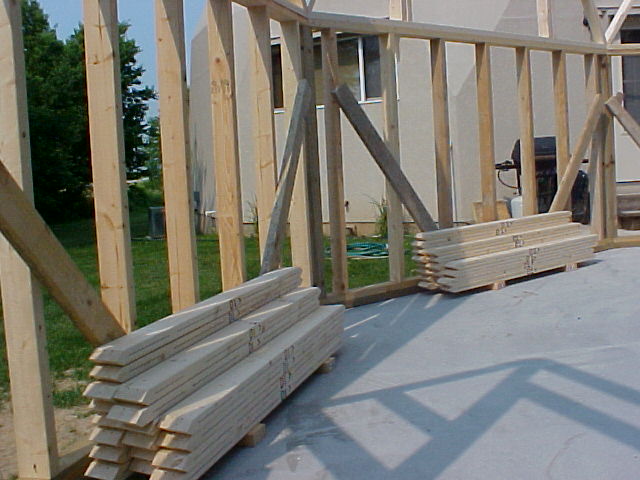
Before going any futher, it is best to sort the struts and make groups of each different letter.
There will be stacks of "A", "B", "C1", "C2", "D1", "D2", "E" & "F" struts.
Step # 4
 |
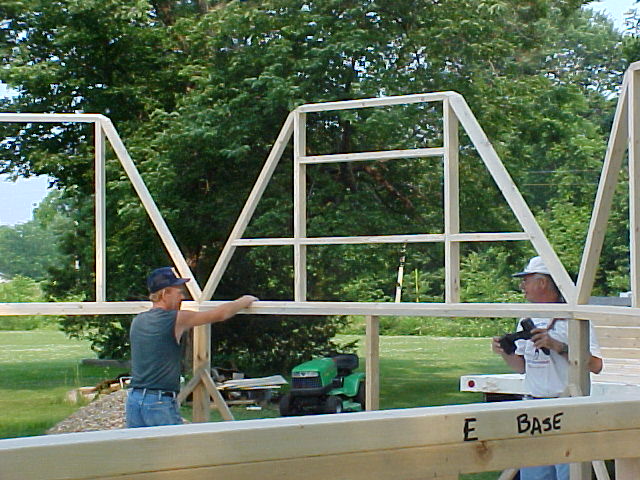 |
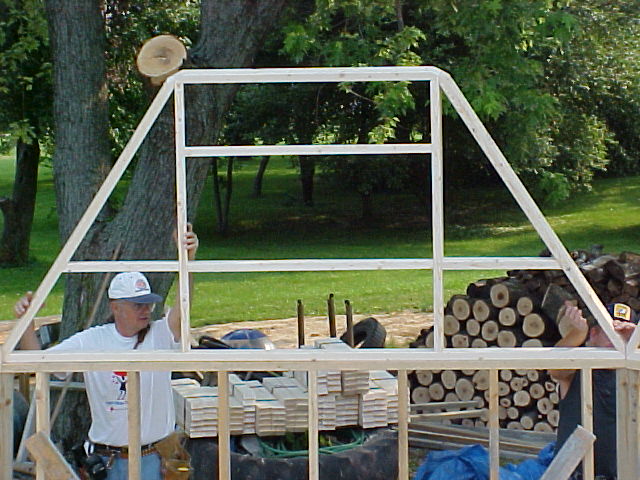
After the corners are braced to hold the riser wall in alignment,
the trapezoids are attached above each of the ten sides.
EconOdome frame kits have modified trapezoids that
allow for the easy installation of conventional doors and windows
along the lower perimeter of the building.
Step
# 5
Ok,
you are all set to begin putting the first level up.
One person can do the job, a second person is a plus, and, a third person is a bonus.
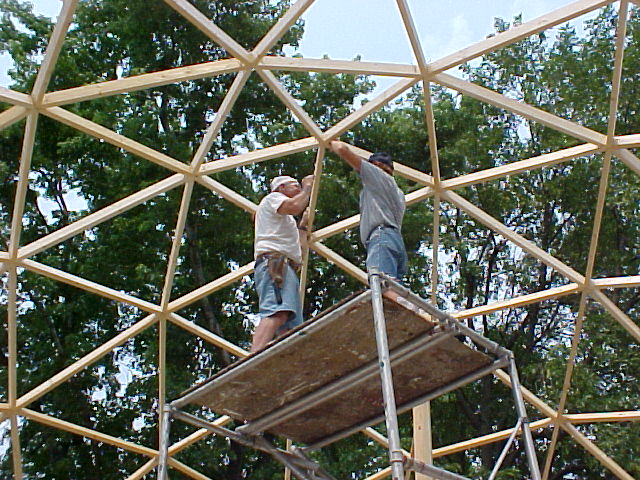
A really quick method is having two people up on the scaffold
and one person below loading the screws into the pre-drilled holes
and handing up the needed struts.
An assembly diagram is used when putting the dome together.
All the struts/boards are marked on the outside edge with letters and arrows that match the diagram.
Attach the struts one at a time ensuring that the struts are positioned
according to the assembly diagram.
Step # 6
 |
 |
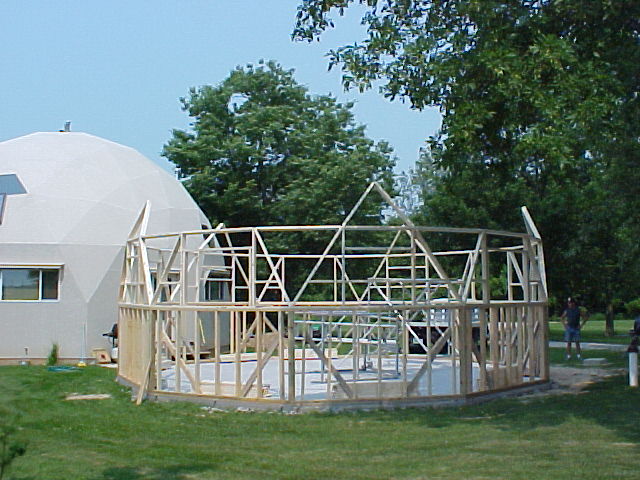
In
the left photo the next two levels are completed.
The right photo shows the EconOdome building frame nearly completed.
There are only ten struts left to screw into place.
Install the last 5 "B" struts to form a pentagon inside the star.
Then install the last 5 "A"struts within the pentagon that is within the star.
Step # 7
The final five "A" struts can be put together on the ground and lifted into place.
The assembly of the frame is complete.
Now would be the time to go back and put in any screws that were omitted
and to install the metal straps that criss-cross all nodes (connection points).
You can now safely climb on the outside of the dome framework.
Panels to cover and waterproof the framework will be installed starting from the top.
The idea is that you will now create an umbrella that expands symmetrically from the top...downward.
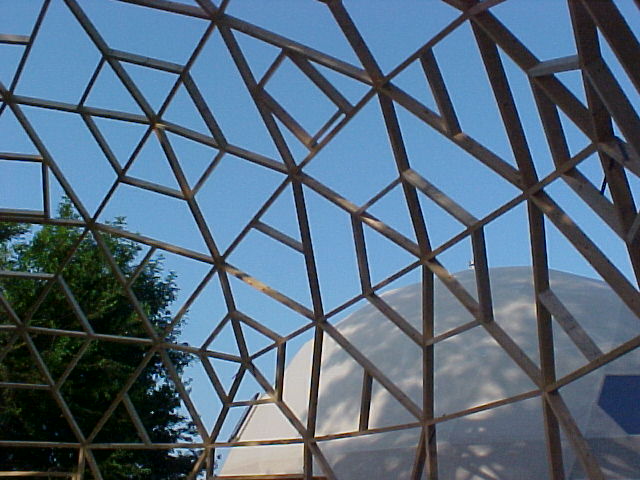
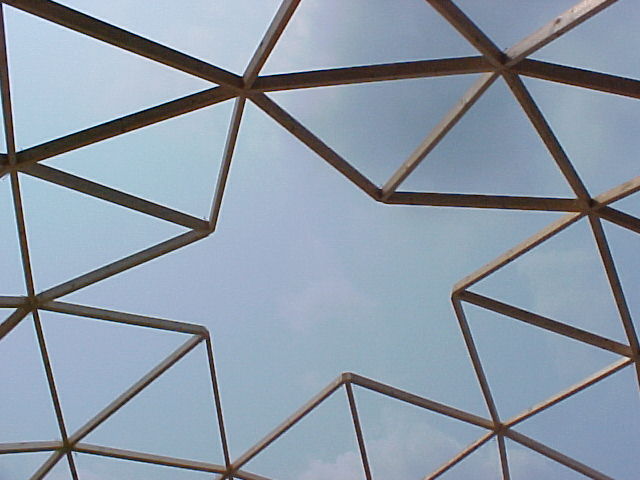
This is a photo of how this frame kit will look from the inside when it is completed.